Browsed by
Month: April 2017

Easter Quiz

Easter Quiz

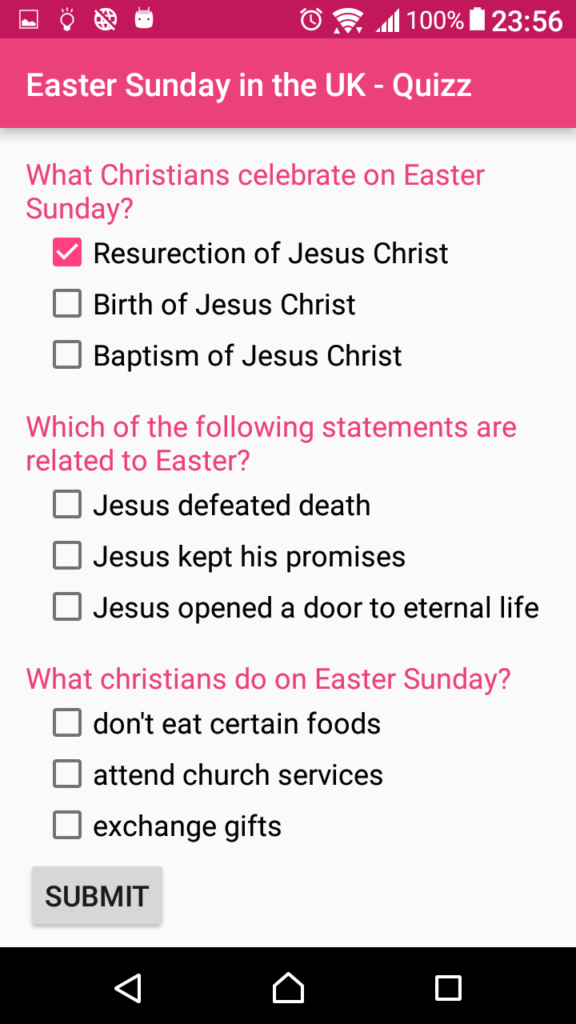
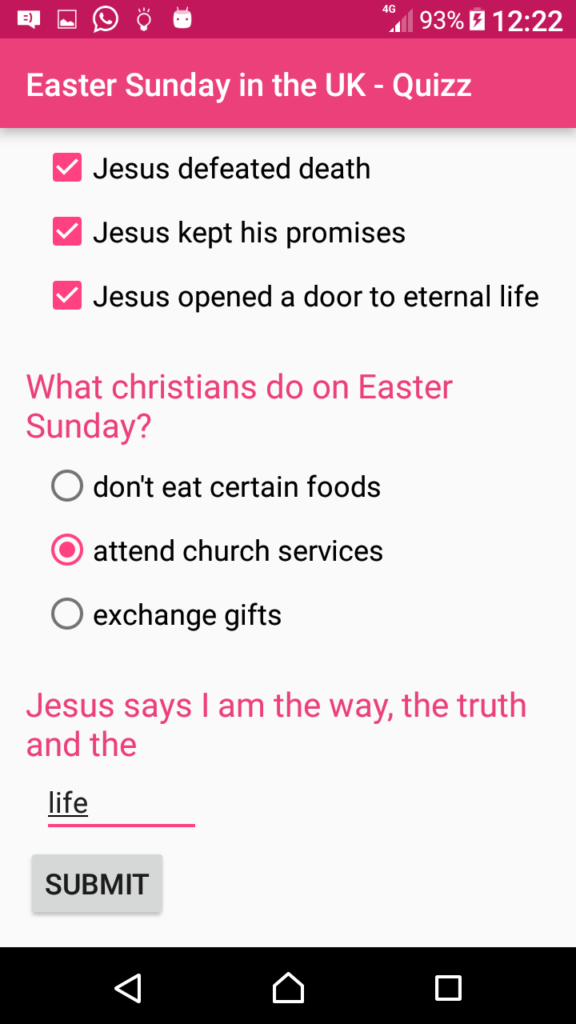
This is my final Udacity Project for Android Beginner Course:

This is an updated version of the UI

This is the java source code:

package com.catalinwk.android.eastersundayquizz;

import android.support.v7.app.AppCompatActivity;
import android.os.Bundle;
import android.widget.Toast;
import android.widget.EditText;
import android.widget.CheckBox;
import android.widget.RadioButton;
import android.view.*;

public class MainActivity extends AppCompatActivity {

@Override
protected void onCreate(Bundle savedInstanceState) {
super.onCreate(savedInstanceState);
setContentView(R.layout.activity_main);
}

/**
* This method calculates the result of the quiz
*/
public void quizResults(View v){
int score = 0;

//first question
RadioButton radioSelectionQuestion1 = (RadioButton) findViewById(R.id.question_1_a);
if (radioSelectionQuestion1.isChecked())
score += 1;

//second question
CheckBox a = (CheckBox)findViewById(R.id.question_2_a);
CheckBox b = (CheckBox)findViewById(R.id.question_2_b);
CheckBox c = (CheckBox)findViewById(R.id.question_2_c);
if (a.isChecked() & b.isChecked() & c.isChecked())
score += 1;

//third question
RadioButton radioSelectionQuestion3 = (RadioButton) findViewById(R.id.question_3_b);
if (radioSelectionQuestion3.isChecked())
score += 1;

//last question
EditText textField = (EditText)findViewById(R.id.question_4);
if (textField.getText().toString().contentEquals(“life”))
score += 1;

//displayint toast message
CharSequence toastText = “You have scored ” + score + ” out of 4 questions”;
int duration = Toast.LENGTH_SHORT;

Toast toast = Toast.makeText(getApplicationContext(), toastText, duration);
toast.show();
}
}
Easter Card

Easter Card

Hi. Today I’m posting my Easter Card Application:

It uses:
– 3 TextViews
– 1 image view

This is the second version:

Changes:
– Activity bar is hidden
– Top text is larger
– Middlle text has dardker colour
– Bottom text is smaller

Understanding Android Api Levels

Understanding Android Api Levels

I have installed the android system using an Udacity Tutorial and then I wrote my first Hello World Application with their help. It was great to see my first app running – it gives you courage to go further in the Android world. Everything went fine until I got an error saying: Nou resource found that matches the given name.

This is my xml code for layout:
TextView android:id="@+id/first_text"
android:text="Jesus is Risen!"
android:layout_width="wrap_content"
android:layout_height="wrap_content"
android:layout_centerHorizontal="true"
android:layout_above="@id/living_word"
android:padding="20dp"
android:textSize="36sp"
android:fontFamily="sans-serif-light"
android:background="#000000ff"
android:textColor="@android:color/white"

TextView android:id="@+id/living_word"
android:text="I am the light of the world: he that follows me shall not walk in darkness, but shall have the light of life"

As I was trying to position relative layouts and relate one view to another using ids, I got an error when compiling. In the editor everything was fine.
Error:(22, 31) No resource found that matches the given name (at 'layout_above' with value '@id/living_word').

The problem is that the compiler uses a different version of the SDK and the editor is unaware of this.
A solution is us the right Android API and SKD Tools:

Here is a description of the Android versions and API Levels:
https://developer.xamarin.com/guides/android/application_fundamentals/understanding_android_api_levels/

Each android devices supports exactly one version of API Level, identifying the libraries which are to be used for coding:
– the Target API level specifies the desired phone for the application
– the Minimum API level specifies the minimum API that can support the application

Android Studio USB Driver

Android Studio USB Driver

It is recommended to use your real phone to test android applications, instead of using the Android Simulator.
The Android Simulator is slow, using lots of resources.

To use your android phone you must first activate Developer options:

http://www.greenbot.com/article/2457986/how-to-enable-developer-options-on-your-android-phone-or-tablet.html

You must install a custom Android OEM driver from here:

https://developer.android.com/studio/run/oem-usb.html

Even if your phone is already installed on your system and you are able to download data from it, the Android Studio doesn’t work with a regular driver.

Hello Android!

Hello Android!

Today I’m creating my first Android application. I needed courage and determination.
and Here are the steps that I’ve followed:

Step 1. Installing Java Development Kit 8 Here
http://www.oracle.com/technetwork/java/javase/downloads/jdk8-downloads-2133151.html

Step 2 Installing Android Studio:
https://developer.android.com/studio/install.html

Step 3 Creating the Android App
https://www.udacity.com/course/android-development-for-beginners–ud837

This is a beginer Course on Android. Have fun!

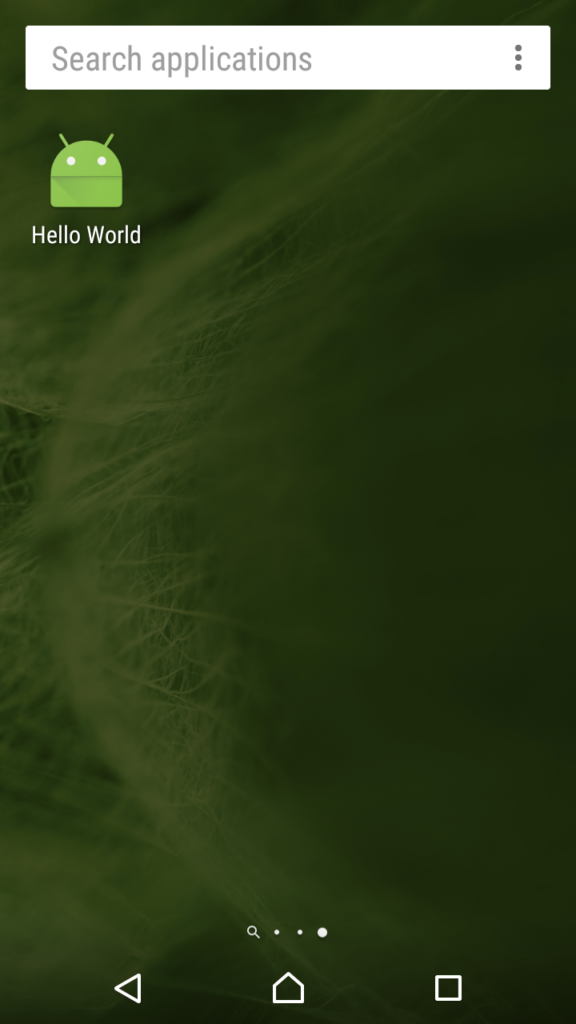
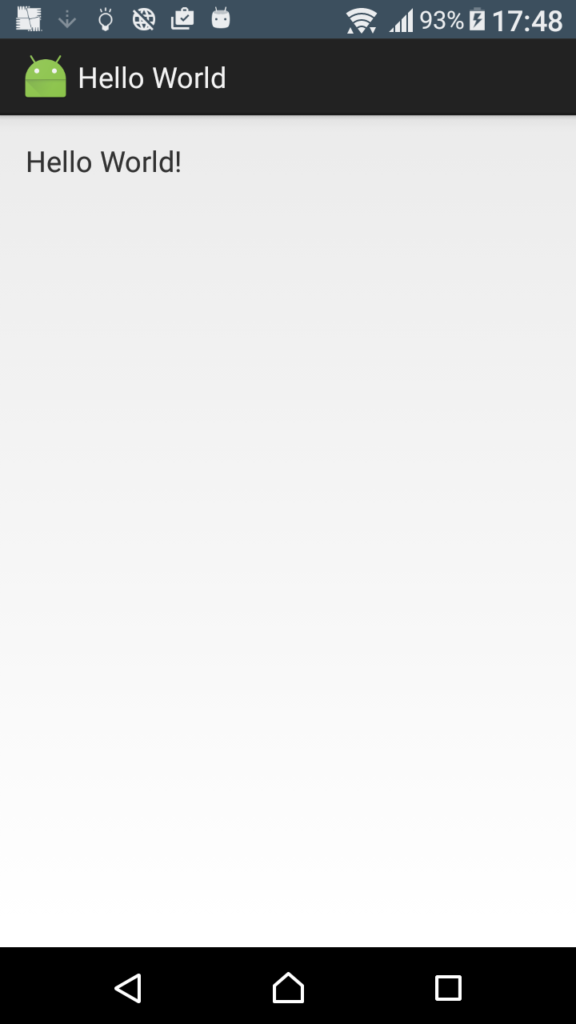
Android App HelloWorld